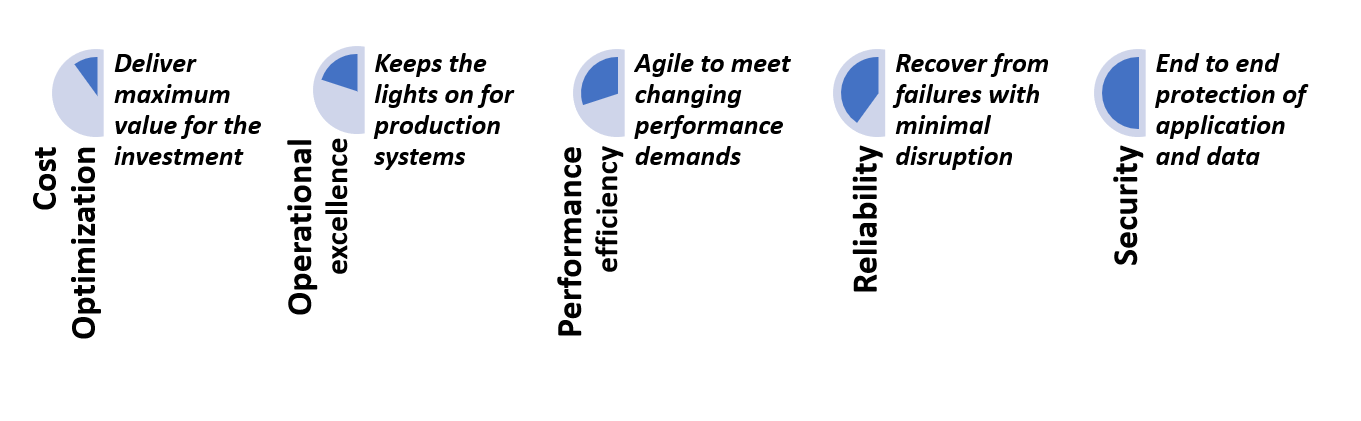
When your workloads are in the cloud the constructs of deployment, configuration and operations are strikingly different from what you would have used on-premises. Adopting the right architecture, without doubt, is the key to host an application successfully in the cloud. Azure helps you with this every step of the process through Azure Well Architected framework. Consider this as a blueprint for excellence in Azure cloud. It consist of five main pillars - Cost optimization, Operational excellence, Performance efficiency, Reliability and Security

Cost Optimization : The basic principle is to start small and scale as you go. Instead of making a huge investment upfront, it is recommended to follow the approach of "Build-Measure-Learn" , aligned with Azure Cloud Adoption Framework (CAF). It focusses on building a minimum viable product(MVP), measuring the feedback and then use a fail fast approach to optimize your cost. Azure cost calculator can help to get you the initial cost, then you can use services like Azure cost management to review the ongoing operational cost
Operational excellence : Success of cloud deployment depends on how well oiled your operations engine is. Starting with automation of deployment to monitoring , logging and diagnostics - the more granular your visibility is, the better placed you are to keep the lights on for your production environment. The monitoring and logging approach has to be consistent across cloud resources to achieve this goal. The raw monitoring data stored in a central storage can be leveraged by tools like log analytics to get to the root of operational issues , enabling faster resolution. Visualization tools can be leveraged to spot trends like resource utilization and unusual traffic and alert the operations team.
Performance efficiency: One of the main perks of cloud adoption is scaling on demand , which can be vertical scaling or horizontal scaling. Vertical scaling helps you to increase the compute power and capacity of your resources on demand, for eg: increase the number of CPU cores when your workloads are in peak demand. Horizontal scaling on the other hand is adding more instances of the resources , automatically if possible. Horizontal scaling embodies the true power of cloud scale deployments, and is often more cheaper than increasing capacity of a single instance
Reliability: No matter how airtight the architecture is , the possibility of a downtime or failure is not 100% eliminated . Hence it is important to design your systems to be reliable i.e. they should be able recover from failures with minimal damage. Reliability is a combined function of resiliency and availability. Due to distributed nature of deployments in the cloud, failure of one component would impact multiple other components. The thumb rule is to leverage the built-in resiliency features for the native cloud services , be it your VMs, databases or storage services . Not just your infra layer, but your application logic should also be built on this principle for the solution to be completely reliable
Security: Security in the cloud is multilayered . You need to consider the infra and network security , application layer security and data security at-rest and in-transit. As identity is considered the new security perimeter , selecting and implementing the right identity management solution is the first step in securing your applications. Security of the management plane and data pane should be taken into account here. RBAC leveraging Azure AD takes care of the management plane , by helping you implement fine grained access control to Azure resources. For data plane , there are multiple options depending on the Azure service being used, for eg: Data encryption, TDE etc. In addition to application development security best practices, leverage services like application gateway that can provide layer 7 security from common attack vectors.
There are many nuances to adopting the well architected framework, the starting point would be to evaluate the current state of the deployment. You can leverage the Azure well-architected review to get started .
Comments
Post a Comment