
Azure automation:Using Graphical runbooks


Azure automation can be an Azure administrator's best friend and can  ease up your day to day administration work. There are three options available in Azure automation- Graphical runbooks, PowerShell Work flow and Powershell based runbooks
 
If you want to play around with Azure automation and want to quickly automate some daily mundane tasks, graphical runbooks are the easiest to start with . You can find many templates in the runbooks gallery in Azure that can easily get the job done easily  for you. Lets start with the basics. One of the common tasks that needs to be done is to start or stop VM at a scheduled time, say for eg: your Dev/Test machines that should be shutdown after office hours. The runbooks for this are readily available in the gallery. In this blogpost we will focus on a graphical runbook available in the gallery that can be used to start or stop VMs at a scheduled time.
 
                 Schedule automated start and stop of VMS using graphical runbook

Create new Azure automation account from portal using the default settings. Go to New->management->Automation->new automation account
 
 
You will get a confirmation  message as follows
 

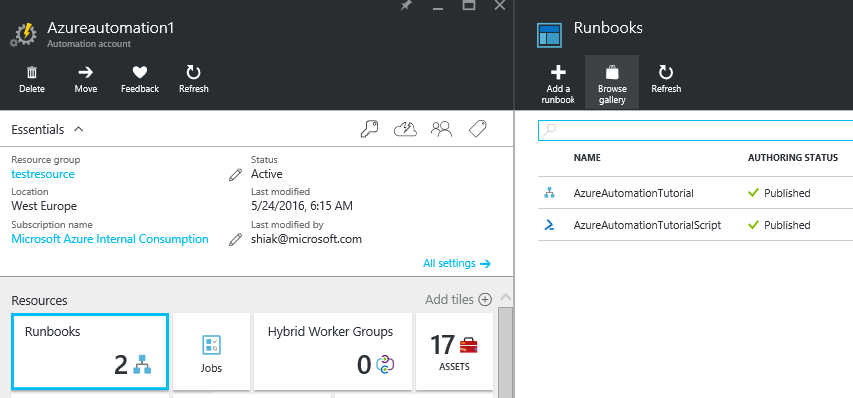
Browse Automation accounts and select the newly created account. Click on runbooks tile->Browse gallery


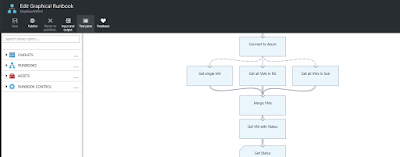
Search for  the graphical runbook  “Start Azure V2 VM”. For stopping you can use the graphical template “Stop Azure V2 VM”


Import the template


 Click on edit and then “test pane” to do a test run of the template


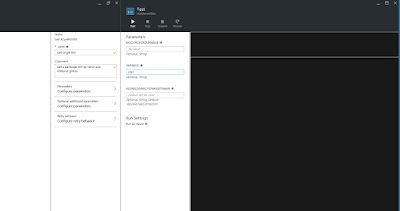
If you want to start a single VM, give the name of the VM as input parameter. Click on start to do a test run
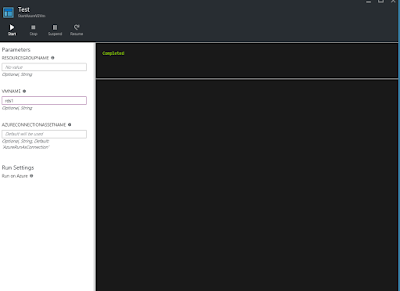


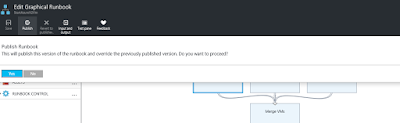
Publish the runbook to make it available in your automation account


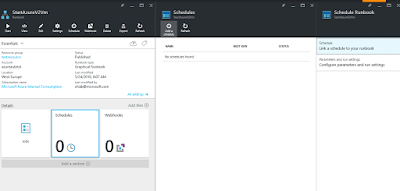
Now you can add a schedule to the runbook


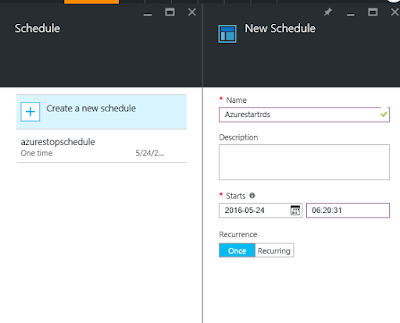
Configure the time when you want the schedule to run


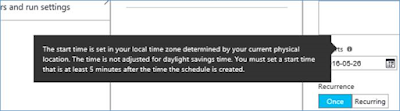
You can select the time and time zone here when you want the schedule to run


Configure input parameters for the schedule, for eg: the VM name or resource group name.
If you want to restart a single VM in a given resource group, specify the name of the resource group as well as the VM name. If you want to start all VMs in a resource group, give the name of the resource group alone


Comments

Popular posts from this blog

Install nested KVM in VMware ESXi 5.1

In this blog, I will explain the steps required to run a nested KVM hypervisor on  Vmware ESXi. The installation of KVM is done on Ubuntu 13.10(64 bit). Note: It is assumed that you have already installed your Ubuntu 13.10 VM in ESXi, and hence we will not look into the Ubuntu installation part. 1) Upgrade VM Hardware version to 9. In my ESXi server, the default VM hardware version was 8. So I had to shutdown my VM and upgrade the Hardware version to 9 to get the KVM hypervisor working. You can right click the VM and select the Upgrade hardware option to do this. 2)In the ESXi host In /etc/vmware edit the 'config' file and add the following setting vhv.enable = "TRUE" 3)Edit the VM settings and go to VM settings > Options  > CPU/MMU Virtualization . Select the Intel EPT option 4) Go to Options->CPUID mask> Advanced-> Level 1, add the following CPU mask level ECX  ---- ---- ---- ---- ---- ---- --H- ---- 5) Open the vmx...

Virtual fibre channel in Hyper V

Virtual fibre channel option in Hyper V allows the connection to pass through from physical  fibre channel HBA to virtual fibre channel HBA, and still have the flexibilities like live migration. Pre-requisites: VM should be running Windows Server 2008, 2008 R2 or Windows Server 2012 Supported physical HBA with N_Port Virtualization(NPIV) enabled in the HBA. This can be enabled using any management utility provided by the SAN manufacturer. If you need to enable live migration, each host should be having two physical HBAs and each HBA should have two World Wide Names(WWN). WWN is used to established connectivity to FC storage.When you perform migration, the second node can use the second WWN to connect to the storage and then the first node can release its connection. Thereby the storage connectivity is maintained during live migration Configuring virtual fibre channel is a two step process Step 1: Create a Virtual SAN in the Hyper-V host First you need to click on Vir...

The Cloud Migration Gotchas..

All leading cloud providers have a well defined Cloud Adoption Framework that will help you shape up your cloud migration strategy. Customers would eventually end up with one of the 5 'R's of rationalization - Rehost(Lift&shift) , Refactor, Rearchitect, Rebuild or Replace.  Once you have identified the approach , next steps would be planning and execution. However the best  plans laid out by  a professional services team can be driven off the track by  customer specific environment challenges. If you are helping customers with cloud migration, here are few things that you might want to think through again and prepare for before you go all in . 1.Start with stakeholder buy in The first step called out in Azure Cloud Adoption Framework is Strategy  or rather the motivation of the organization to move to cloud. Though this would usually be done in the presales phase and might have the buy in of the C-Suite, it is very important that this acceptance trickles do...
